How To Install a Heated Print Bed in a Printrbot Simple
One of the most frustrating problems I have had with my 3d printing is the plastic pulling up off of the print bed. Most of the time it is just the corners, but this translates to pieces with curved bottoms. A lot of the things you want to print, you really want the bottom to be perfectly flat. There are multiple ways people improve this, like rubbing your tape with nail polish remover, or spraying it with hair spray. The nail polish remover has worked great for me, but I knew a heated print bed could also accomplish this. If there is one thing I can’t get enough of, it would be upgrading my Printrbot!
Another reason to install a heatbed into your Printrbot is to print using ABS plastic. I knew you couldn’t print ABS without a heatbed, but just to give it a shot I tried it on a standard bed. When you hear that it is impossible to print ABS without a heatbed, they mean it. ABS warps badly, and pulls off the bed very easily. The piece I was trying to print popped completly off of the bed far before it was finished printing.
I couldn’t really find a great tutorial on how to wire everything up, so here are the parts I needed and steps I followed to get the heatbed installed.
Parts List
- Heated print bed, with Prewire option
- Heated print bed for standard size Printrbot Simple
- Thermistor
- Kapton Tape
- Insulation
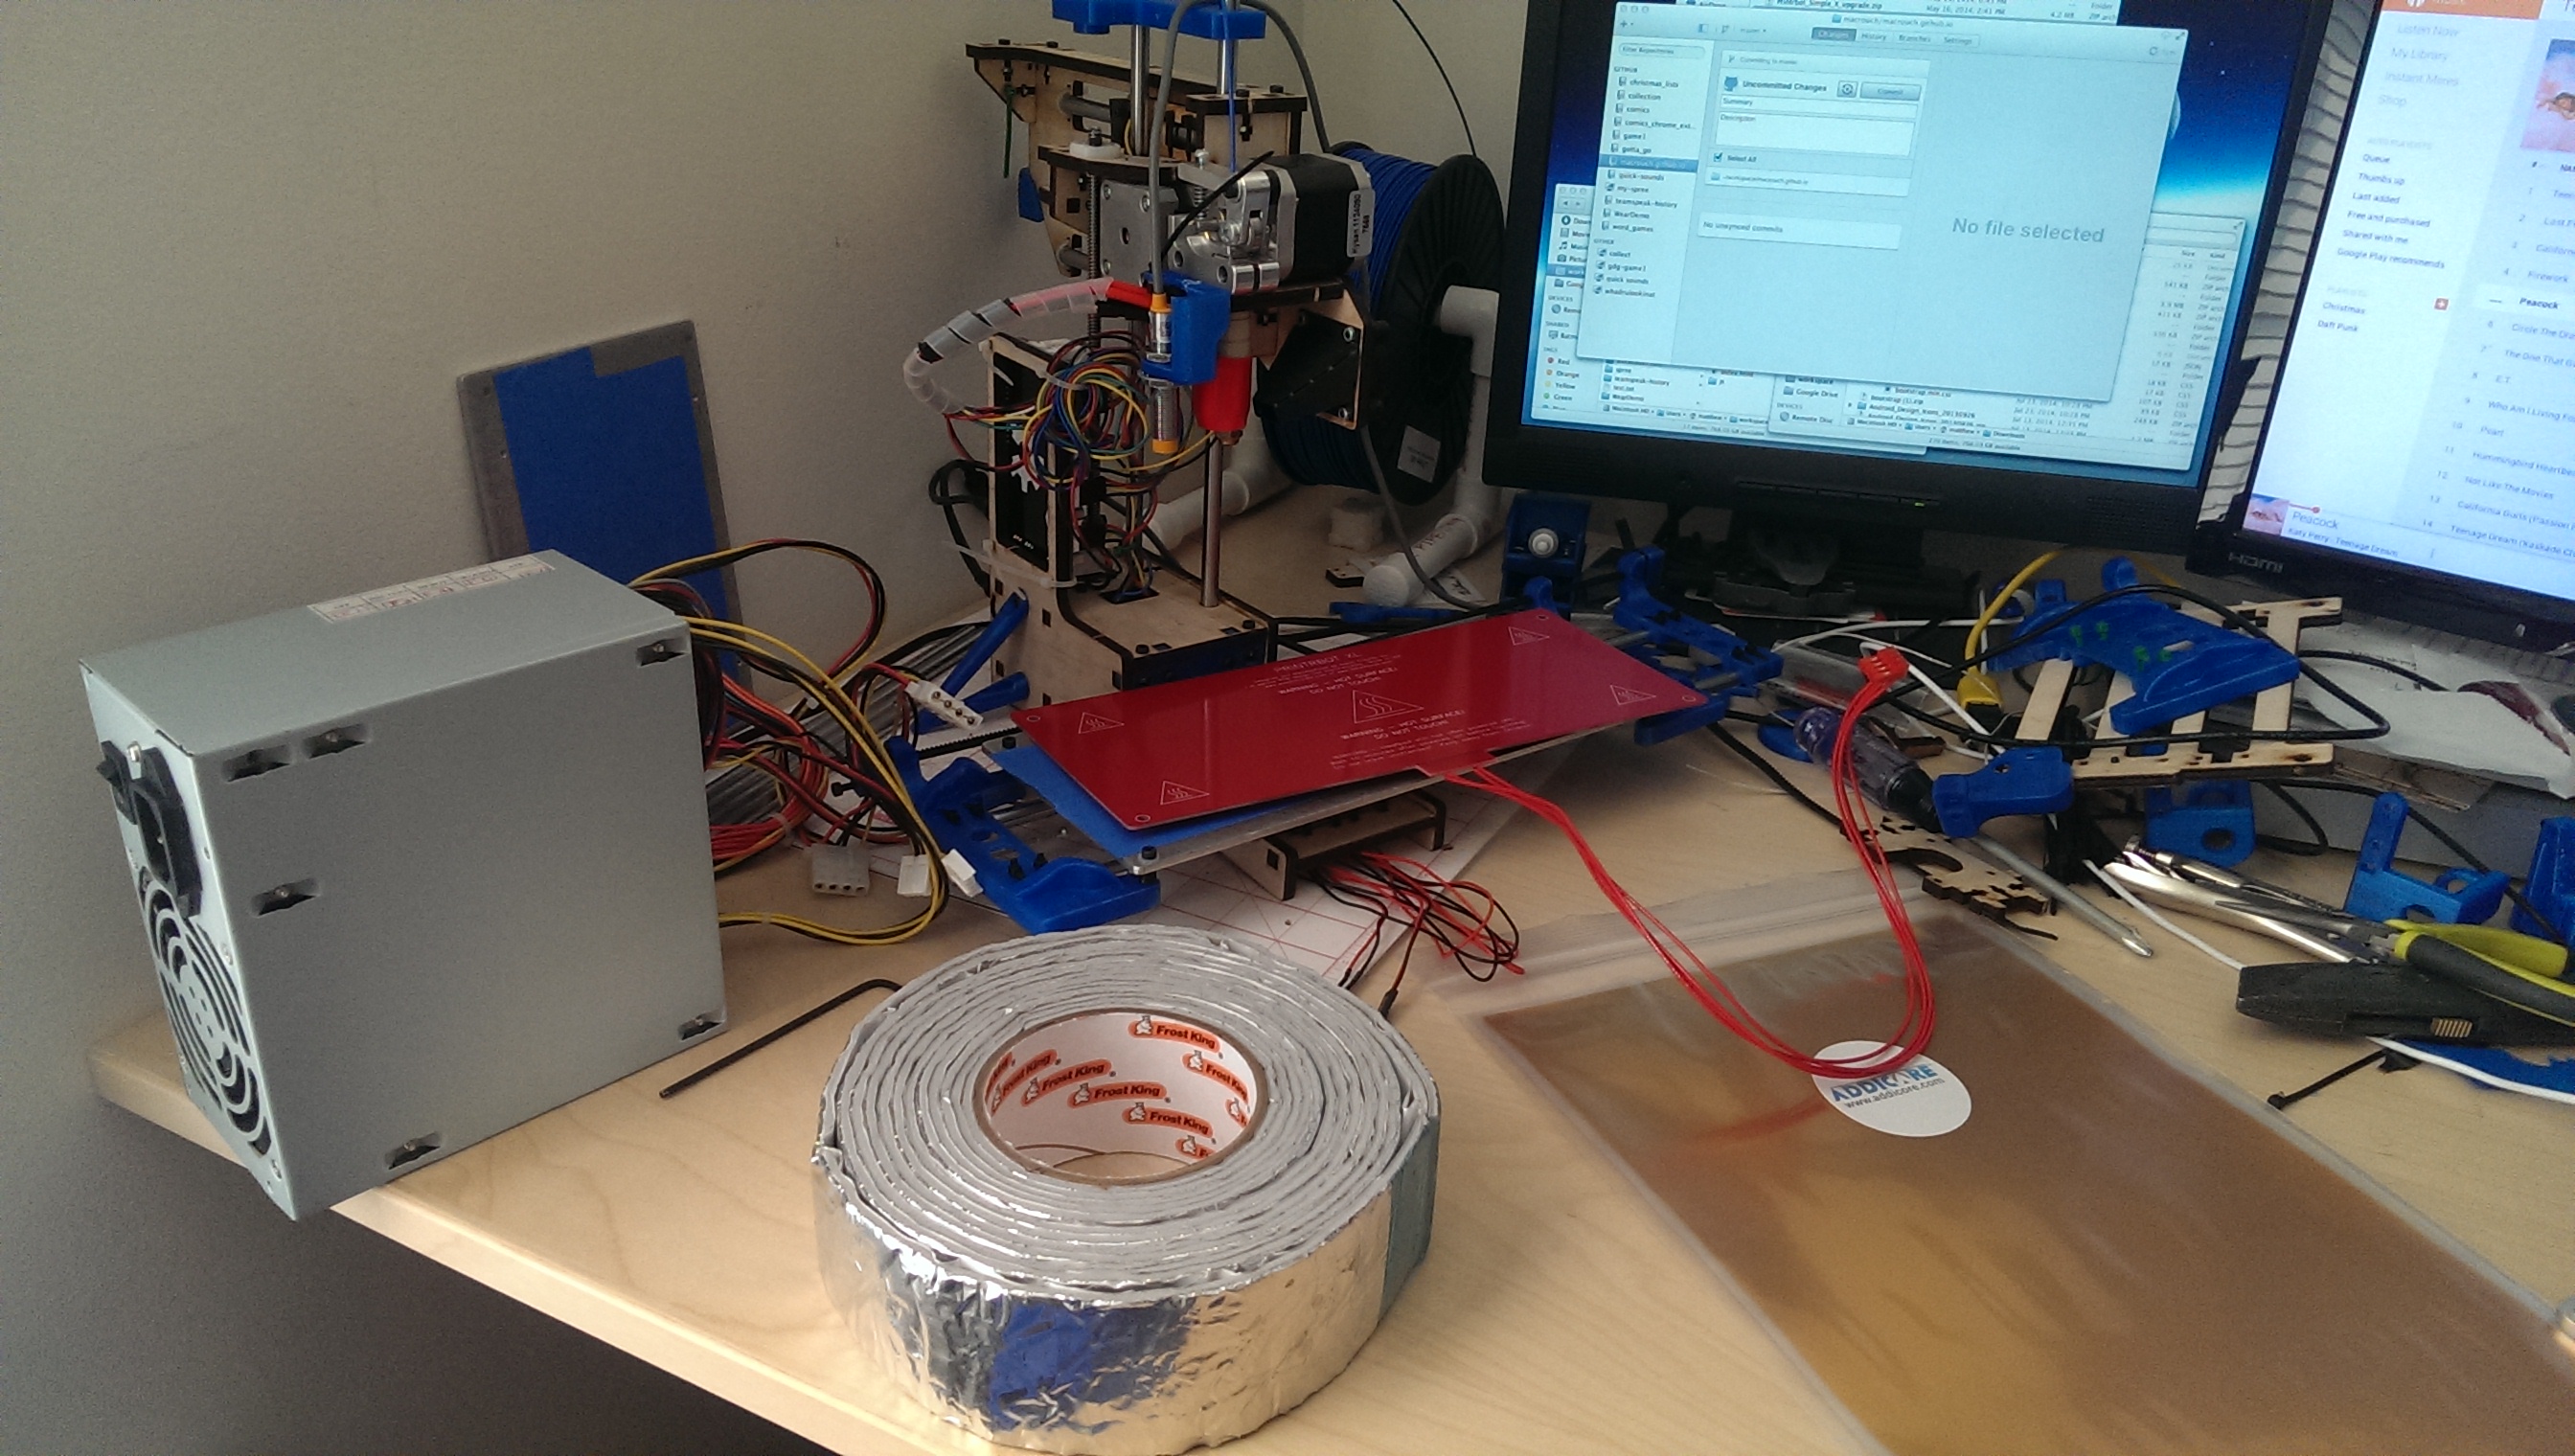
- ATX Power Supply (I just had a spare sitting around)
- I am using a power supply with 12 volts at 20 amps. The Printrboard uses 6 amps, I would suggest a power supply with at least 15 amps of 12 volt power.
Installation
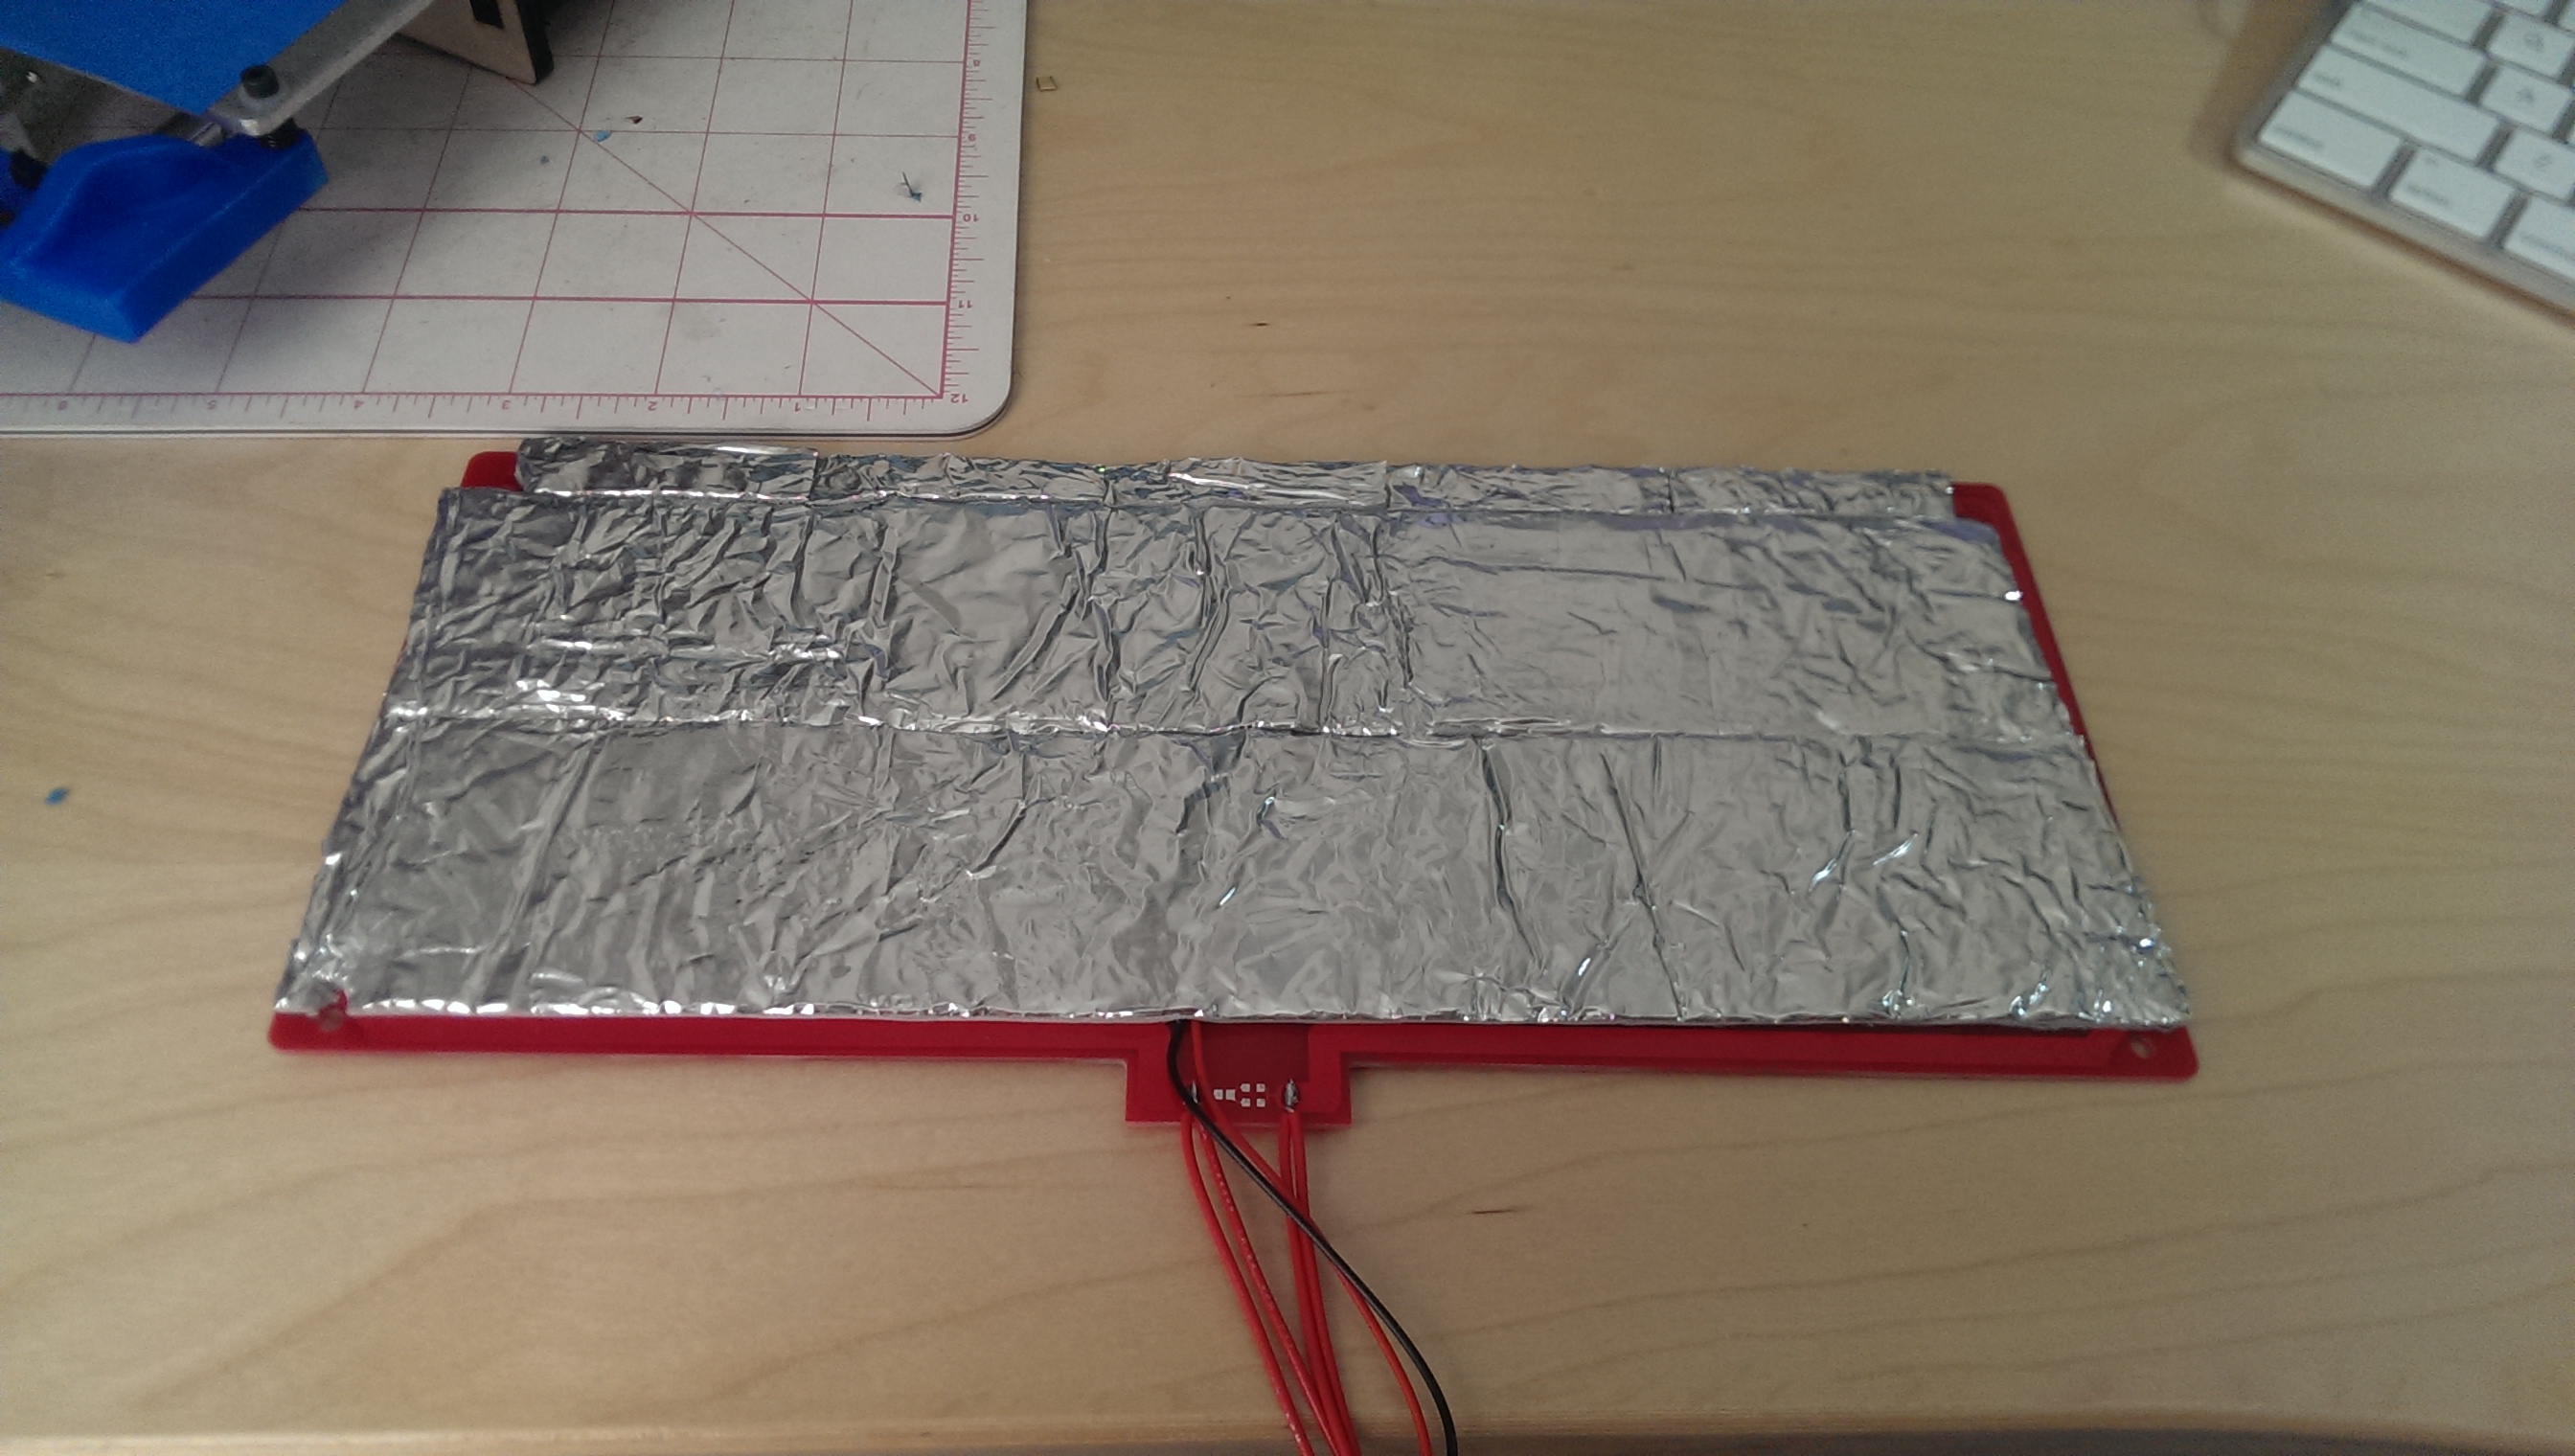
The process of installing everything is really simple. First, you need to install the thermistor on the under side of the heat bed. Take a small piece of kapton tape and tape the glass bead of the thermistor in the center of the bottom of the heatbed. The wires from the thermistor should follow the heatbed wires.

Next, you will want to apply insulation to the bottom of the heatbed. This will improve the energy efficiency of the heatbed, which also means less time to wait for the bed to reach temperature. I used pipe insulation, with built-in adhesive. Trim it as needed to cover everything but the screw holes.
Now you can install the heatbed and print bed onto the printer. The tab from the heatbed should be facing away from the printer. The wires from the heatbed and thermistor will run under the printer.

Finally, it’s time to plug everything in. On the bottom of your Printrboard, next to the extruder power, you should see a 4-pin header labeled “HOTBED”. With the prewire option on my heatbed there was only one way to plugin the connector. At the top of your Printrboard, next to the extruder thermistor, you should see a 2-pin header labeled “T-BED”. I matched up the ground wire on the heatbed thermistor cable with the black wire on the extruder thermistor cable. If you turn on your heatbed and feel it getting warm without your software showing the temperature rising, flip this connector.


Your ATX power supply should have a 12 volt 4-pin square connector. It should be the only 4-pin square connector, and it should have two yellow wires and two black wires. The standard is for yellow wires to be 12 volts and black to be ground. If you aren’t sure, it doesn’t hurt to open up the power supply and verify. Look on the circuit board, they will be labeled. Unplug the 4-pin square connector on the printrboard supplied by Printrbot and plug in the 4-pin square connector from your power supply.

If you plugin your power supply right now and flip the switch, don’t be concerned when it doesn’t turn on. In a PC, the motherboard tells the power supply when to turn on by closing a circuit. You need to do the same thing, but without a motherboard. Take a look at the 24-pin connector coming out of the power supply, and you should see a single green wire along with numerous black wires. You can use a short wire to connect that green wire to one of the black wires, as shown below. For a more permanent solution, you can cut off that entire strand of wires inside the power supply and solder the green wire to a black wire. I recommend the second method, as any bump to the cable could cause that short wire to come loose, which will cause your printer to lose power and ruin a print.

And that’s it! Time to turn on everything and make sure the heatbed gets hot. Now I am printing pieces with very flat bottoms, and also starting to print with ABS plastic. If you have any questions please comment below, and I will try my best to help you out.